¶ XRP Code
Our expantion of XRP code is more driven to the competition side of things. The base functionality remains the same.
You can access this at xrp.wpsrobotics.org
If you need a more in depth understanding of XRP Code. Please visit the API Documentation.
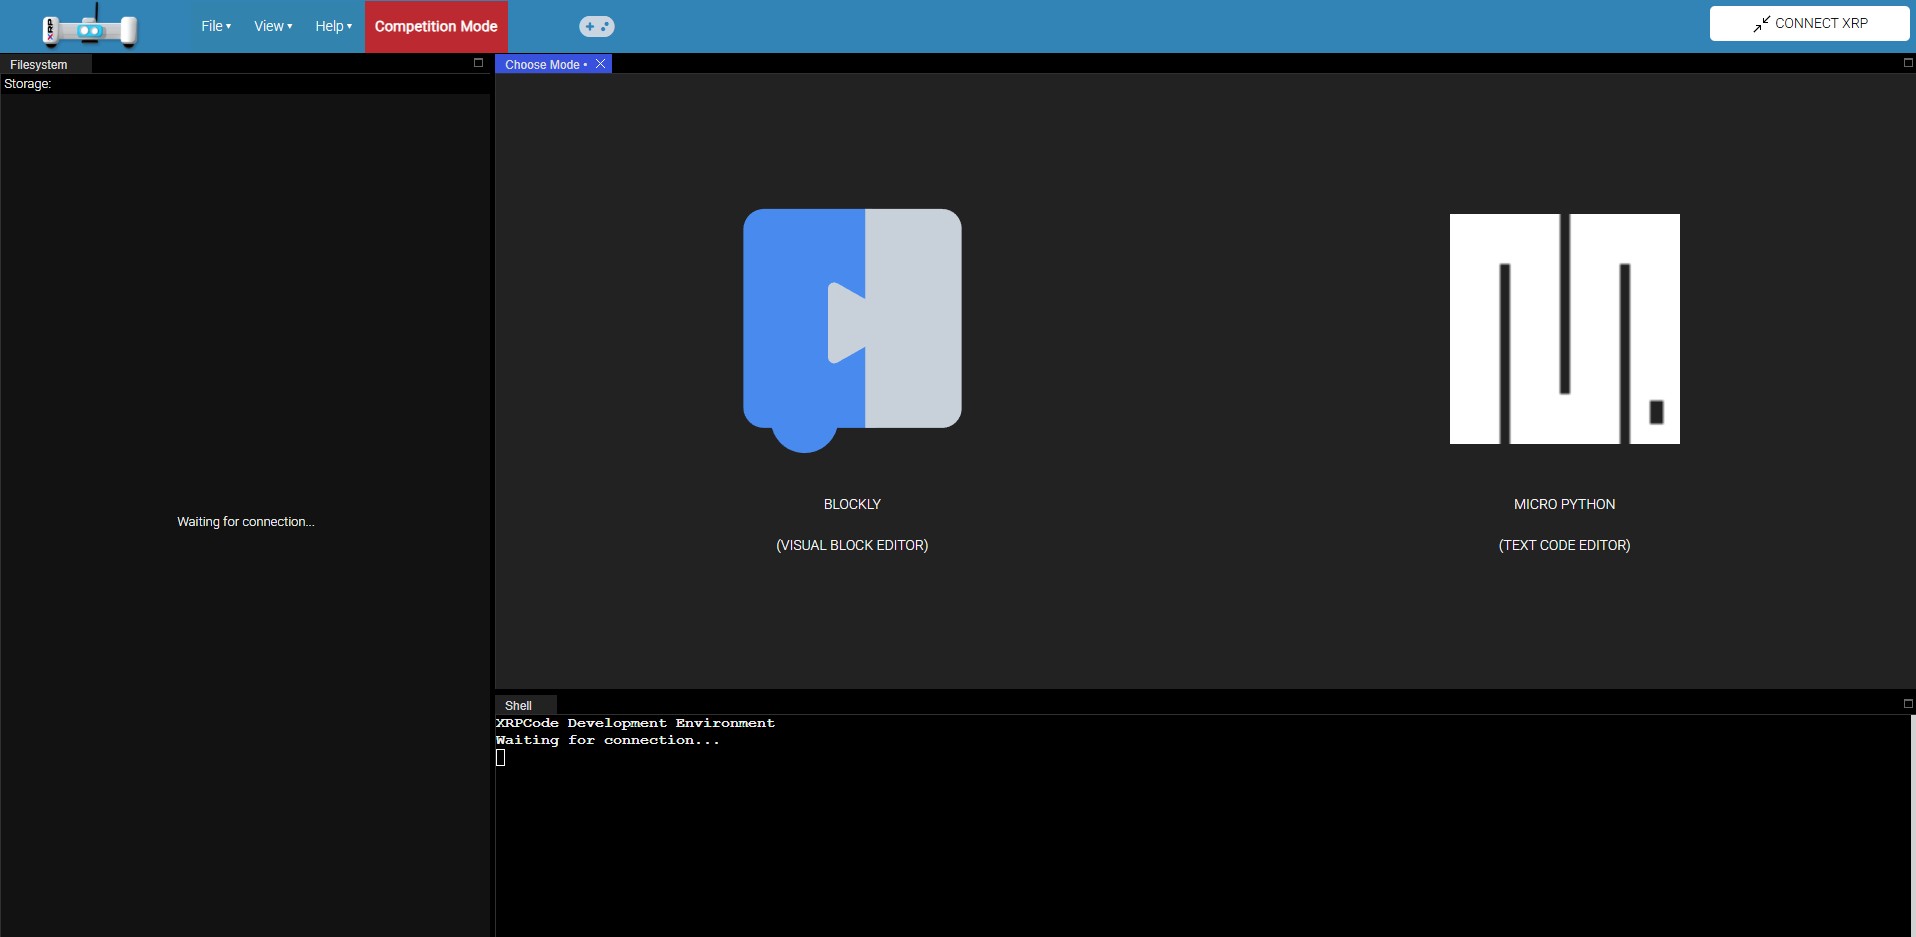
¶ Blocky
Blocky is a great starting point, its easy to understand at its core. Click and drag and there you go, You have working code! However, there is a bit more to this than dragging code segments into blocky to make it work. Most of the time, it will do every basic thing you need it to do for the robot.
¶ Micro Python
Nothing Micro about this, basically its regular python build to run on a limited chip set. Meaning its built to run on smaller systems like microcontrollers. Although you may be wondering what Python is? Well its a programming language like java or c++, except the they made it to be easier to read and simple to understand.
¶ Choosing a path for programming
Both codes is essentaily python, blocky just converts it in the background. Choosing one depends on your skill level and what you want to achieve. Blocky is a great way to start into coding and get things going. Micro Python is a more advanced way to control the robot, having the ability to add more 3rd party libraries, more functionality and such. If you ever want to try your code in Micro Python from Blocky, all you have to do is press the Convert to Python on the View button.
For all of our examples, we will have both code types here for viewing.
¶ Competition Mode
This is thing that we developed to help switch from auto mode to teleop mode. Also allows us to enable and disable the robot. All this basically does is sends data to the robot so it knows what mode you want it on.
¶ Control Tab
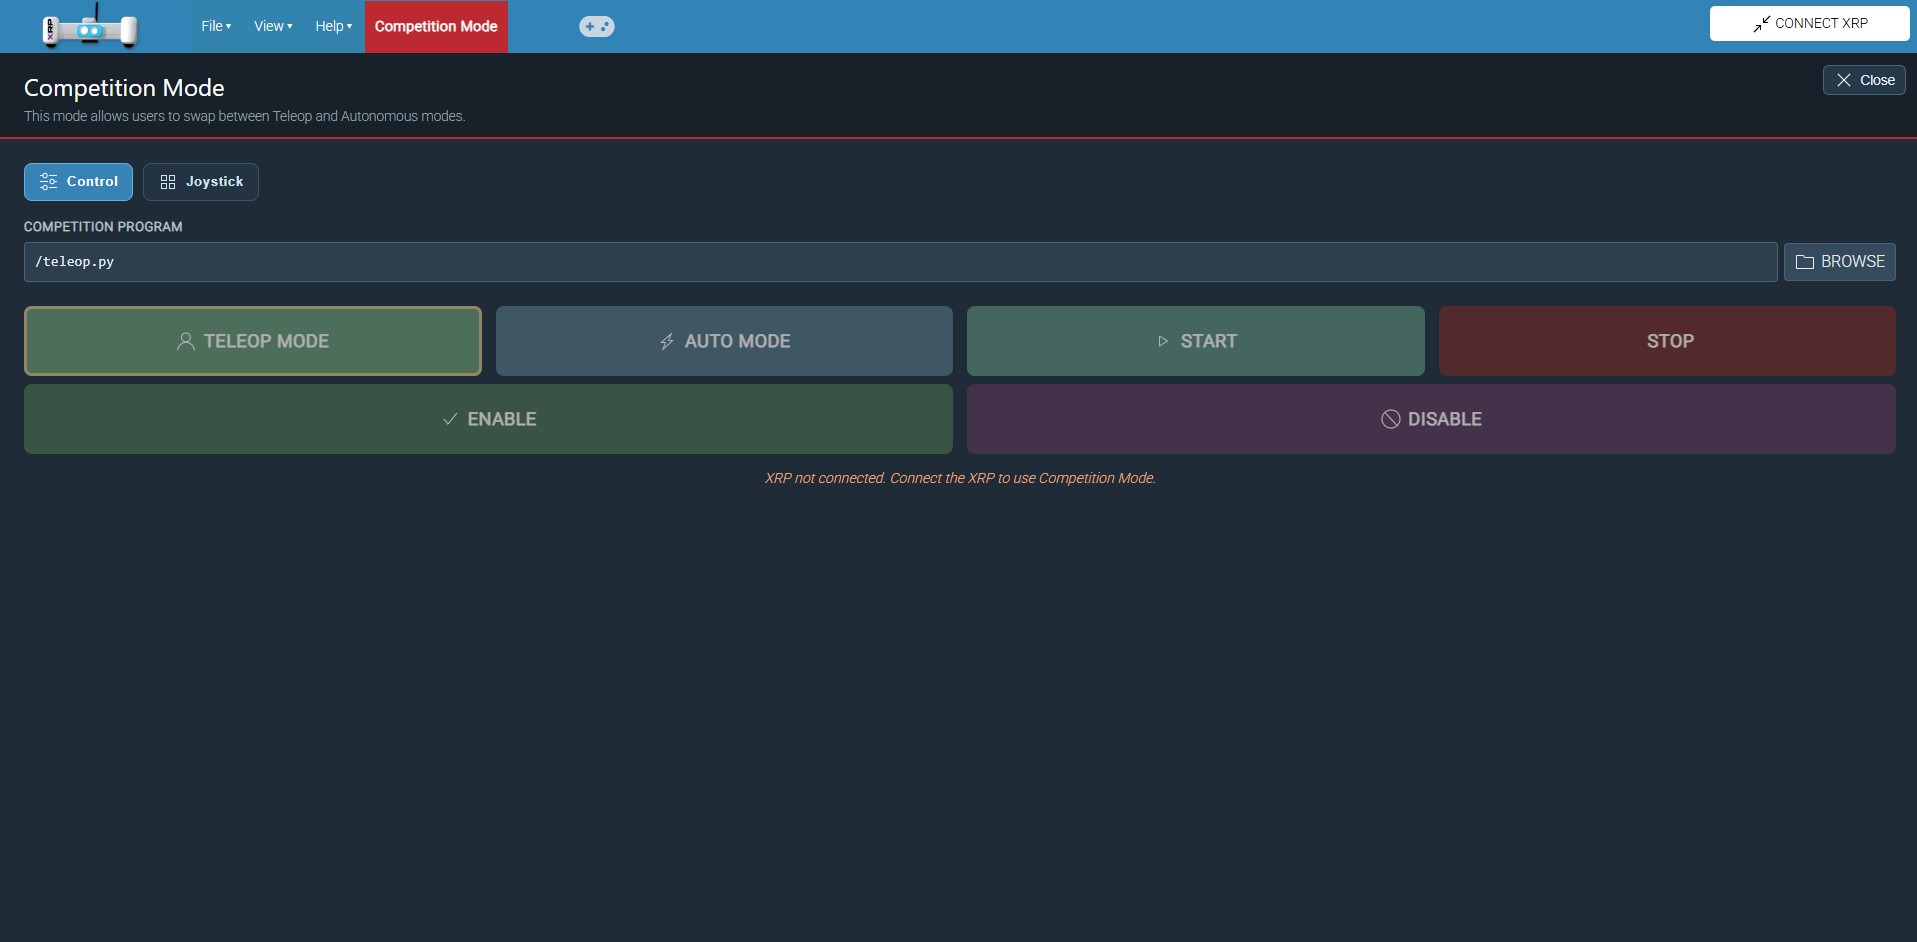
Selecting a Competiton program is important, otherwise it will not know what program you want to start. The file name isn't important, it could be called anything.
To start the code all you press is Start and then Stop to stop the code. This is diffrent then being enabled and disabled.
The default mode is Enabled and in Teleop, and will remain the same until you change it in your robot code.
¶ Joystick Tab
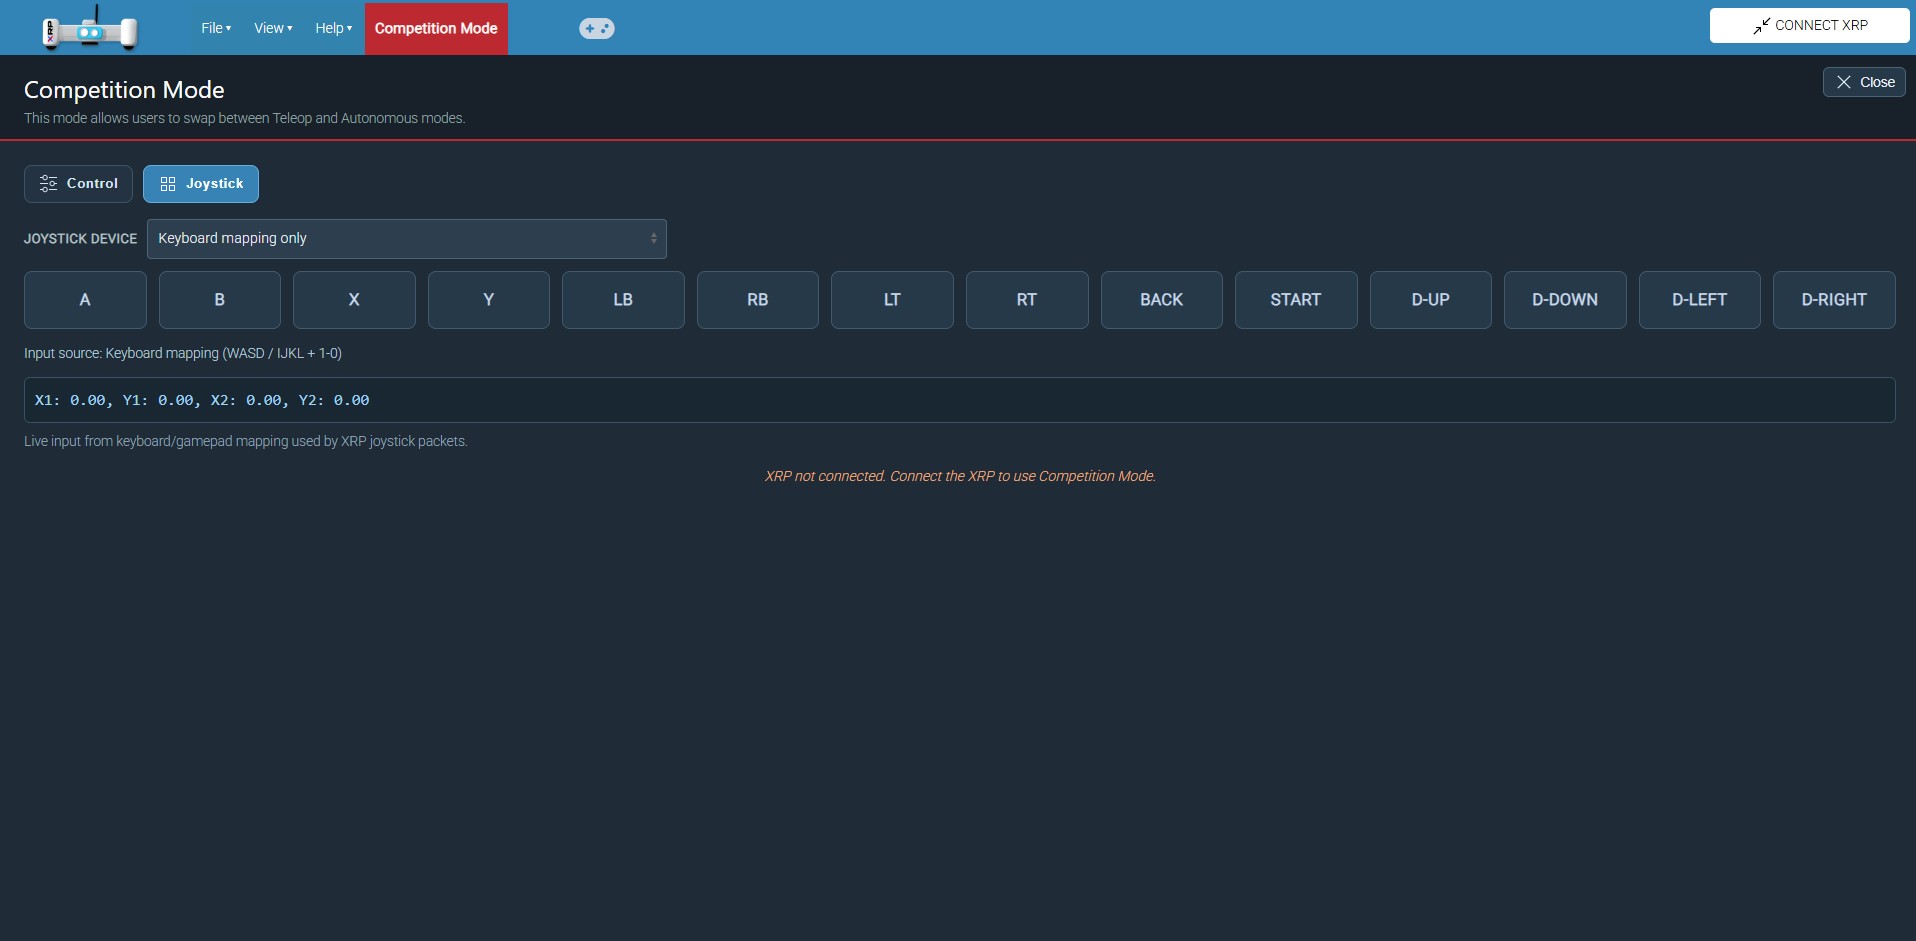
All this tab is for is to allow a user to select what joystick they want to use and monitor the input. You can access the page when you press joystick icon next to "Competition Mode".